Good Eyesight is Key for Performance!
It’s National Eye Exam Month, which is the perfect time to get your yearly eye exam! Seeing clearly is essential for performance. In sports 80% of you sensory input comes from your eyes, so it’s important to have regular eye exams to make sure that you have good eyesight!
Being able to see things clearly is called visual acuity, which affects our:
- Eye hand coordination (ability to connect visual info to direct hand movement)
- Depth perception (ability accurately assess the speed and distance of objects)
- Eye focusing (ability to change focus from one object to another)
- Eye tracking (ability to keep your eye on objects as they move)
- Peripheral awareness (ability to see out of the corner of your eyes to see surroundings)
- Dynamic visual acuity (ability to see clearly see objects as they move)
As you can see from this list, it’s essential to get yearly eye exams to ensure we have the best visual acuity possible! This is especially important as we age because our eyes slowly lose the ability to focus clearly, which decreases our performance.
However the benefits of having good eyesight go beyond athletic performance because visual acuity improves your reaction times and ability to process visual information. This leads to safer driving, better reflexes, less strain on the eyes when working at a computer and many more benefits in everyday life! So if you have not had your eyes tested in the last 12 months, it’s time to call and make an appointment today!

How to pick the best sunglasses
Sunglasses are essential for personal self care. So many people will skip wearing sunglasses for convenience, but ultraviolet (UV) rays from the sun can be very damaging to your eyes! Extensive UV exposure can even lead to early development of cataracts, which are a big problem in the US as they affect 50% of people by the age of 70. To protect yourself, it is best to wear sunglasses yearound whenever you’re outside (even if it is cloudy because you are still being exposed to UV rays). This is especially important when around bodies of water or snow as these are very reflective. Wearing sunglasses regularly also helps protect the delicate skin around your eyes, which reduces wrinkles and slows the signs of aging.
Thankfully sunglasses help reduce the UV exposure for your eyes, but not all sunglasses are created equal. There are 2 really important things to remember when you are picking your sunglasses:
- 100% UV protection: this is the #1 most important factor because this means the sunglasses will filter out damaging UV rays. This usually comes in the form of a protective coating, but your sunglasses must be labeled as having UV protection, otherwise they are not really protecting your eyes!
- Polarized: these reduce glare and reflection, which give you clearer vision especially in bright light. This increases contrast without distorting color and also reduced eye strain (which makes your eyes tired and negatively affects your vision) and squinting (which causes wrinkles). This is based on preference as well, but there is a noticeable improvement in visibility when wearing polarized lenses.
Unfortunately these features are often confused with each other, but they are not the same. It is important to ensure that your sunglasses have both of these features to have the biggest protective effect for your vision.
Here are a few more tips that are helpful when picking out your shades:
- Bigger is better as this provides more protection for your eyes and the skin around your eyes. The more coverage your sunglasses have on your face, the more protection they provide, so consider buying wraparounds or oversized sunglasses.
- Color and darkness of the lenses do not matter. Choose whichever color and darkness you like, it is your preference. Many people think that darker lenses protect your eyes better, but this is a myth.
- Cost does not matter. As long as they have UV protection (and polarization if you want to see things clearly), the cost is irrelevant.

Smile to improve your health!
June is National Smile month. Smiling and laughing so many benefits that support you on mental, emotional, physical and social levels. Here are 8 reasons to smile as much as possible!
- Smiling activates brain chemistry that boosts your mood! When you smile your brain releases dopamine, endorphins, and serotonin – all of which are feel good molecules that increase your feelings of happiness. Regardless of how you feel, smiling boosts your mood and increases positive thoughts!
- Reduce your stress with a smile! Studies have shown that smiling decreases cortisol (stress hormone) production which lowers your stress levels. Smiling also decreases feelings of anxiety and depression.
- Did you know that smiling boosts your immune system? One study showed that smiling and laughing actually increased the number of infection-fighting antibodies and immune cells. So give your immune system a boost with a good belly laugh!
- Smiling decreases your pain! The endorphins released by smiling and laughing actually reduce your feeling of pain. Which means laughter really is one of the best medicines!
- Lower your blood pressure with a smile! Studies have shown that laughing can briefly increase your heart rate followed immediately by a slower heart rate and decreased blood pressure. Even small amounts of laughing can help reduce your risk of heart disease!
- Did you know that smiling makes you look younger? One study showed that subjects who were smiling were rated as looking younger than the same person with a neutral or angry expression. Be sure to smile to embrace a youthful appearance!
- Smiling can help you have better relationships! People who smile often are described as more likeable and positive, which leads to better relationships and improves overall well-being.
- Would you like to be more attractive? Smiling makes you appear more attractive to others. Multiple research studies have found that people who are smiling are rated as more attractive.
No matter how you feel, you are only one smile away from having a better day! Anytime you are looking for a quick “pick me up,” turn on a funny video or do something else that gets you smiling and laughing!
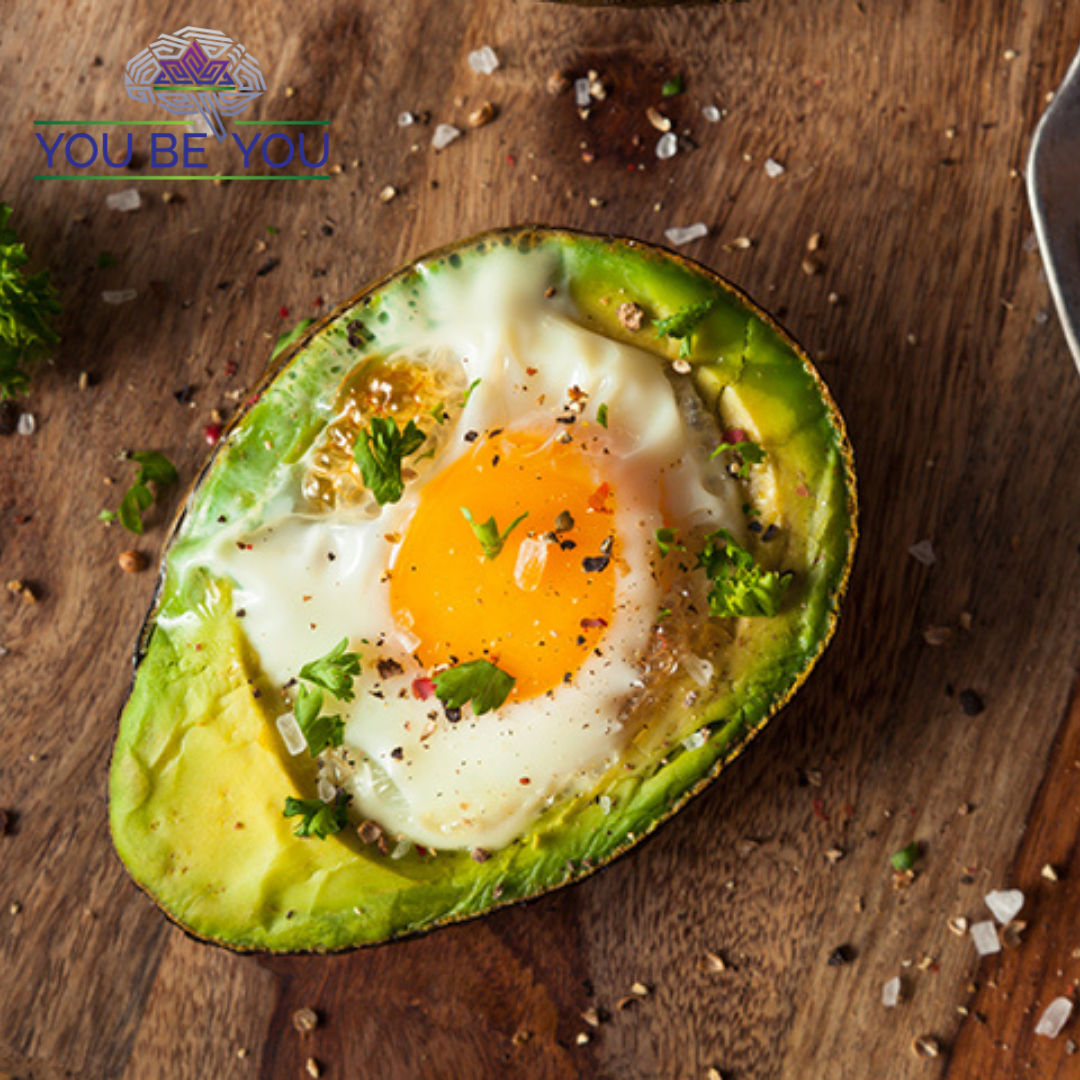
Baked Avocado Eggs with Bacon
Baked Avocado Eggs with Bacon
Avocados are an amazing healthy food because they have lots of healthy fats, which is great for supporting your brain by reducing your blood pressure and may even prevent Alzheimer’s. Avocados are amazing to eat for breakfast as they are full of healthy fats that keep you fueled all day long! Baked avocado eggs with bacon is a favorite breakfast of mine – try it out for yourself!
Ingredients: Serves 2
- 2 avocado
- 4 eggs
- 4 pieces of bacon
- 1 tsp Mrs. Dash seasoning
- 1/2 bundle green onions
- salt & pepper to taste
- Optional: other spices or toppings!
Instructions:
- Preheat the oven to 400 degrees. Line a rimmed baking sheet with parchment paper (ensuring that there is a lip of parchment paper so that it can contain all the bacon grease). Put the bacon on the parchment paper. Bake in the oven for approx 13 – 17 minutes or until desired doneness. When bacon is done, dab with paper towel to remove excess fat.
- While bacon cooks, wash the avocados and eggs.
- Cut avocados in half and remove pits. Scoop out a little of the avocado flesh from each side of the avocado (just enough to fit 1 egg). You can either eat this while you cook or you can save it for a topping on the eggs.
- Crack 1 egg into each half of the avocado. Sprinkle with Mrs. Dash seasoning, salt and pepper.
- Bake avocado eggs in the oven at 400 degrees for 15 minutes or until egg is desired consistency.
- While the avocado eggs cook, wash and chop green onions.
- When eggs reach desired consistency, pull out of the oven, top with green onion, serve with bacon and enjoy!
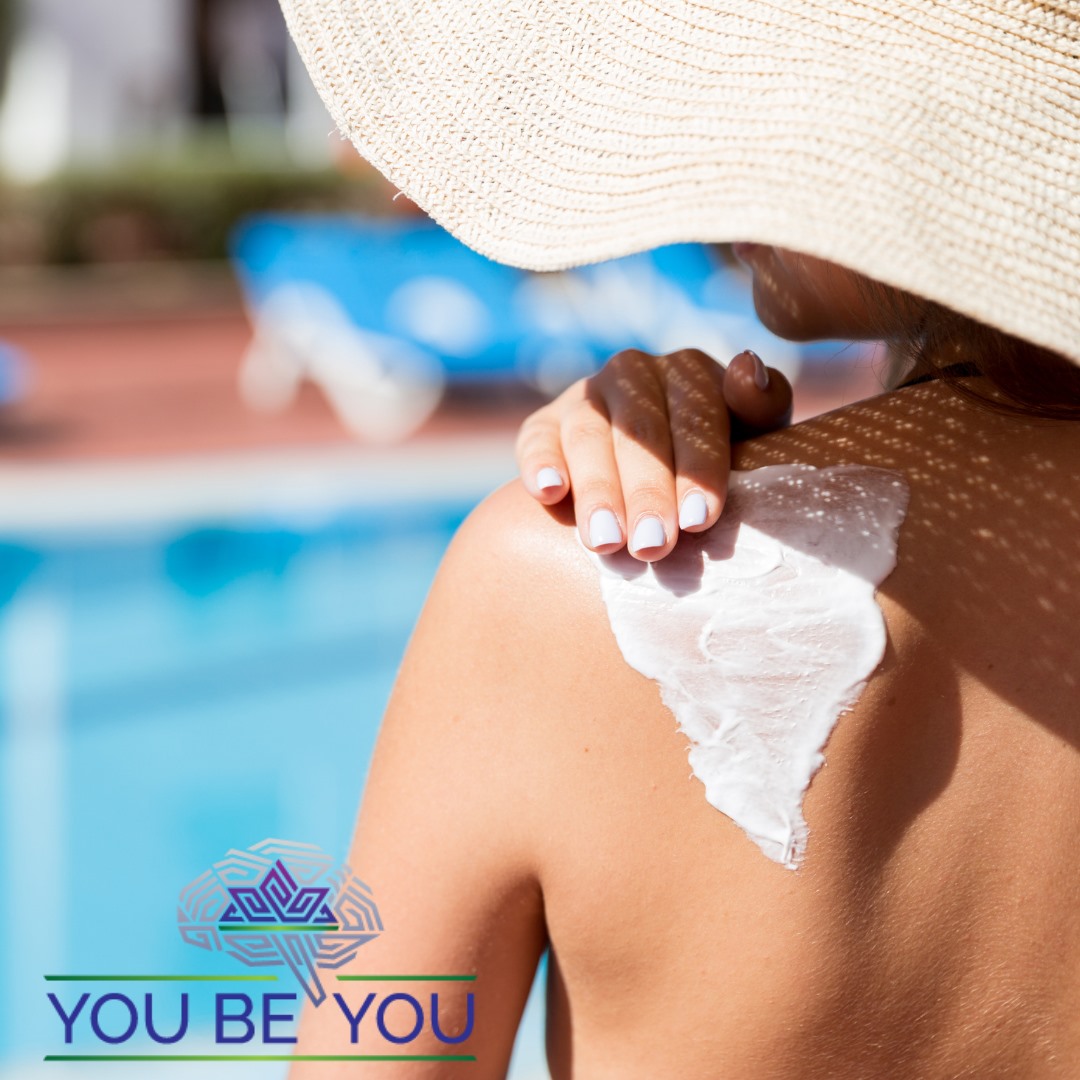
How to pick the best sunscreen!
Summer is here, which means it’s time to get outside and enjoy some sunshine! Since the sun is out in full force, it’s really important to wear sunscreen to prevent sunburns that can lead to skin cancer. June is Skin Cancer Awareness month. Unfortunately skin cancer affects 1 in 5 Americans by the time they are 70, which is why it is so important to protect yourself! Thankfully sunscreen can reduce the risk by more than 40%! Not all sunscreens are created equal, some are much better than others. This article is designed to teach you tips on how to pick the best sunscreen!
Sunscreen Recommendations:
- Choose a broad spectrum sunscreen as this protects against ultraviolet A (UVA) and ultraviolet B (UVB) rays.
- Get SPF 30 or higher. Many people don’t know that the SPF number is the number of minutes of protection (i.e. the time duration you should reapply). The higher the SPF number the longer you can go between reapplication! Be sure to apply at least once every 2 hours at the maximum.
- Water resistant does not mean waterproof. Even water resistant sunscreens are only water resistant for 40 to 80 minutes. Sunscreens should be reapplied after you’ve sweat or been in the water.
- Apply liberally! Maybe people will put on a light layer, which does not fully protect your skin. Be sure to add enough to get a thick layer on your skin.
- Mineral based has less potentially toxic ingredients. Try to find a sunscreen that uses zinc oxide or titanium oxide as a
- Check the expiration date before using. Sunscreens that are expired have lower effectiveness.
- Read the ingredients carefully! Choose sunscreens that have Avobenzone instead of Oxybenzone (an ingredient found in some chemical based sunscreens but it has been found to be a hormone disruptor and potentially lead to skin sensitization, so it’s best to avoid).
- Here’s a list of things you want to make sure are not in your sunscreen:
- Aminobenzoic acid
- Trolamine salicylate
- Cinoxate
- Dioxybenzone
- Ensulizole
- Oxybenzone
- Meradimate
- Sulisobenzone
- Padimate O
- Here’s a list of things you want to make sure are not in your sunscreen:
My Favorite Brands:
- Whole body = Alba Botanica – Hawaiian Sunscreen Fragrance Free Sunscreen Spray SPF 70
- Face = Sun Bum – Original SPF 50 Sunscreen Face Lotion
Other Considerations:
Sunscreen cannot prevent 100% of sun damage. If you’re going to spend an entire day outside, consider getting SPF shirts and SPF hats!
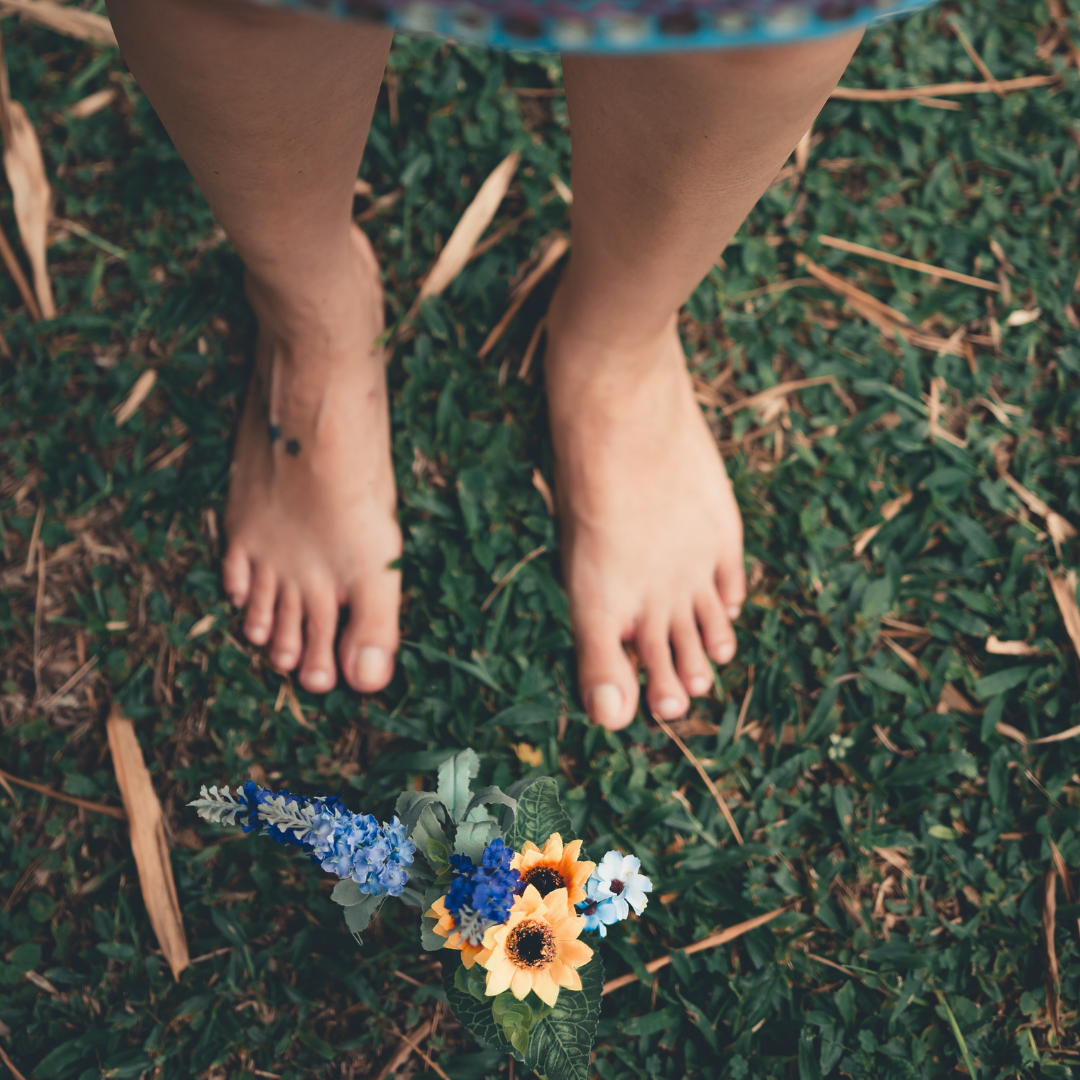
Benefits of Grounding
Grounding is GREAT!
Getting into nature is so relaxing and balancing. Nature is the ultimate stress reducer! Grounding, sometimes called earthing is simple – it is getting your skin to touch the ground. You can do this by walking barefoot, laying on the ground, wading in shallow water, hugging a tree, gardening and getting bare hands into the dirt. If you ever done these things, you have probably noticed how much the help you chill out and relax. But if you’re like me, you have probably wondered how it works! So here is a short explanation – We are bioelectrical beings living on an electrical planet. Your body operates electrically. All of your cells transmit multiple frequencies that run, for example, your heart, immune system, muscles, and nervous system. The act of grounding is absorbing electrons from the earth and releasing excess protons into mother earth.
The benefits of grounding are amazing! Grounding is the most effective and quickest acting stress reduction technique I have ever found because it supports our mental, physical and emotional health! It benefits many body functions and has the following effects:
-
-
- Reduces inflammation
- Decreases chronic fatigue & chronic pain
- Boosts mood, reduces anxiety & depression
- Reduces stress levels by normalizing stress hormone levels (cortisol)
- Improves sleep quality
- Supports cardiovascular health: reduces blood pressure, improves circulation
- Balances hormones & blood sugar; regulates metabolism
- Improves memory & focus
-
Of course getting into nature is the best possible way to ground, but sometimes that’s not available to us, like if you live in a crowded metropolitan area with very little grass or it is the dead of winter and there is snow on the ground. Thankfully there are some grounding tools you can use in these times, which include grounding pads, mats, and blankets. This winter I purchased an Earthing Elite Mattress Cover Kit and have been absolutely loving it! I immediately noticed a dramatic increase in my sleep quality. According to my smart watch, I get a lot more REM & deep sleep now that I have the grounding pad!
Go outside and check it out for yourself today!
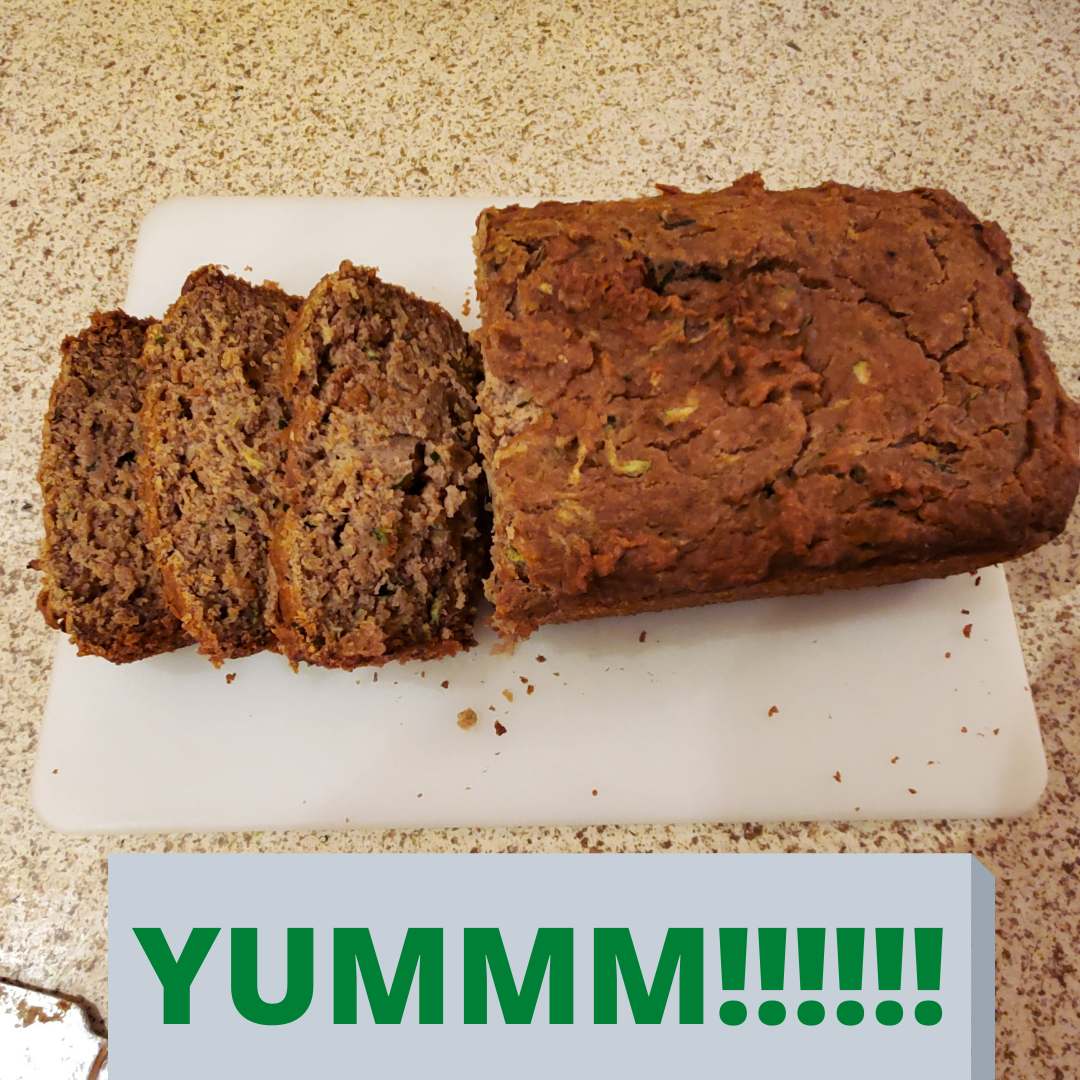
Healthy Zucchini Bread Recipe
Zucchini Bread Recipe
Zucchini is one of my favorite comfort foods!I like mine with lots of zucchini, gluten free, and this recipe is a AIP variation (would be fully AIP & vegan if you swapped 2 regular eggs for 2 gelatin eggs)
Try this healthy spin on a classic!
Ingredients: Serves 12
- 2 small zucchini (shredded ~ 4 cups)
- 2 tbsp lemon zest (about 2 lemons)
- Juice of lemons
- 1/2 cup coconut oil
- 1/2 cup honey
- 2 eggs
- 1 1/2 cup cassava flour
- 1/2 cup arrowroot starch
- 3 tbsp coconut flour
- 2 tsp baking soda
- 1/2 tsp cream of tartar
- 1/2 tsp sea salt
- 1 tbsp ground cinnamon
- 1 tsp nutmeg
- 1/4 tsp ground cloves
- 1/4 cup coconut milk (optional but often needed to thin out the dough)
Instructions:
- Preheat the oven to 350 degrees.
Use butter and flour to create non-stick coating in loaf pan (approx 4.5″x8.5″). - In a small mixing bowl, combine dry ingredients: cassava flour, arrowroot starch, coconut flour, baking soda, cream of tartar, salt, cinnamon, nutmeg, clove.
- Shred the zucchini using cheese grater or food processor. Zest lemon
- In large mixing bowl, add the wet ingredients: zucchini, lemon rind, lemon juice, coconut oil, honey and 2 eggs.
- While mixing, slowly add in the dry ingredients to the wet ingredients, 1/2 cup at a time. Mix until just combined.
- The dough should be like a runny paste consistency (thicker than a traditional batter, but thin enough that it would pour out if you tilt the bowl). If your dough is too crumbly or too thick (meaning it’s a solid), then add the coconut milk 1 tablespoon at a time until desired consistency is reached.
- Pour batter into the loaf pan and bake for 45 minutes.
- Cover the loaf pan with aluminum foil and back for another approx 15 minutes or until the fork comes out clean when you stick it in the middle of the zucchini bread. Remove and let cool for about 20 minutes then enjoy!
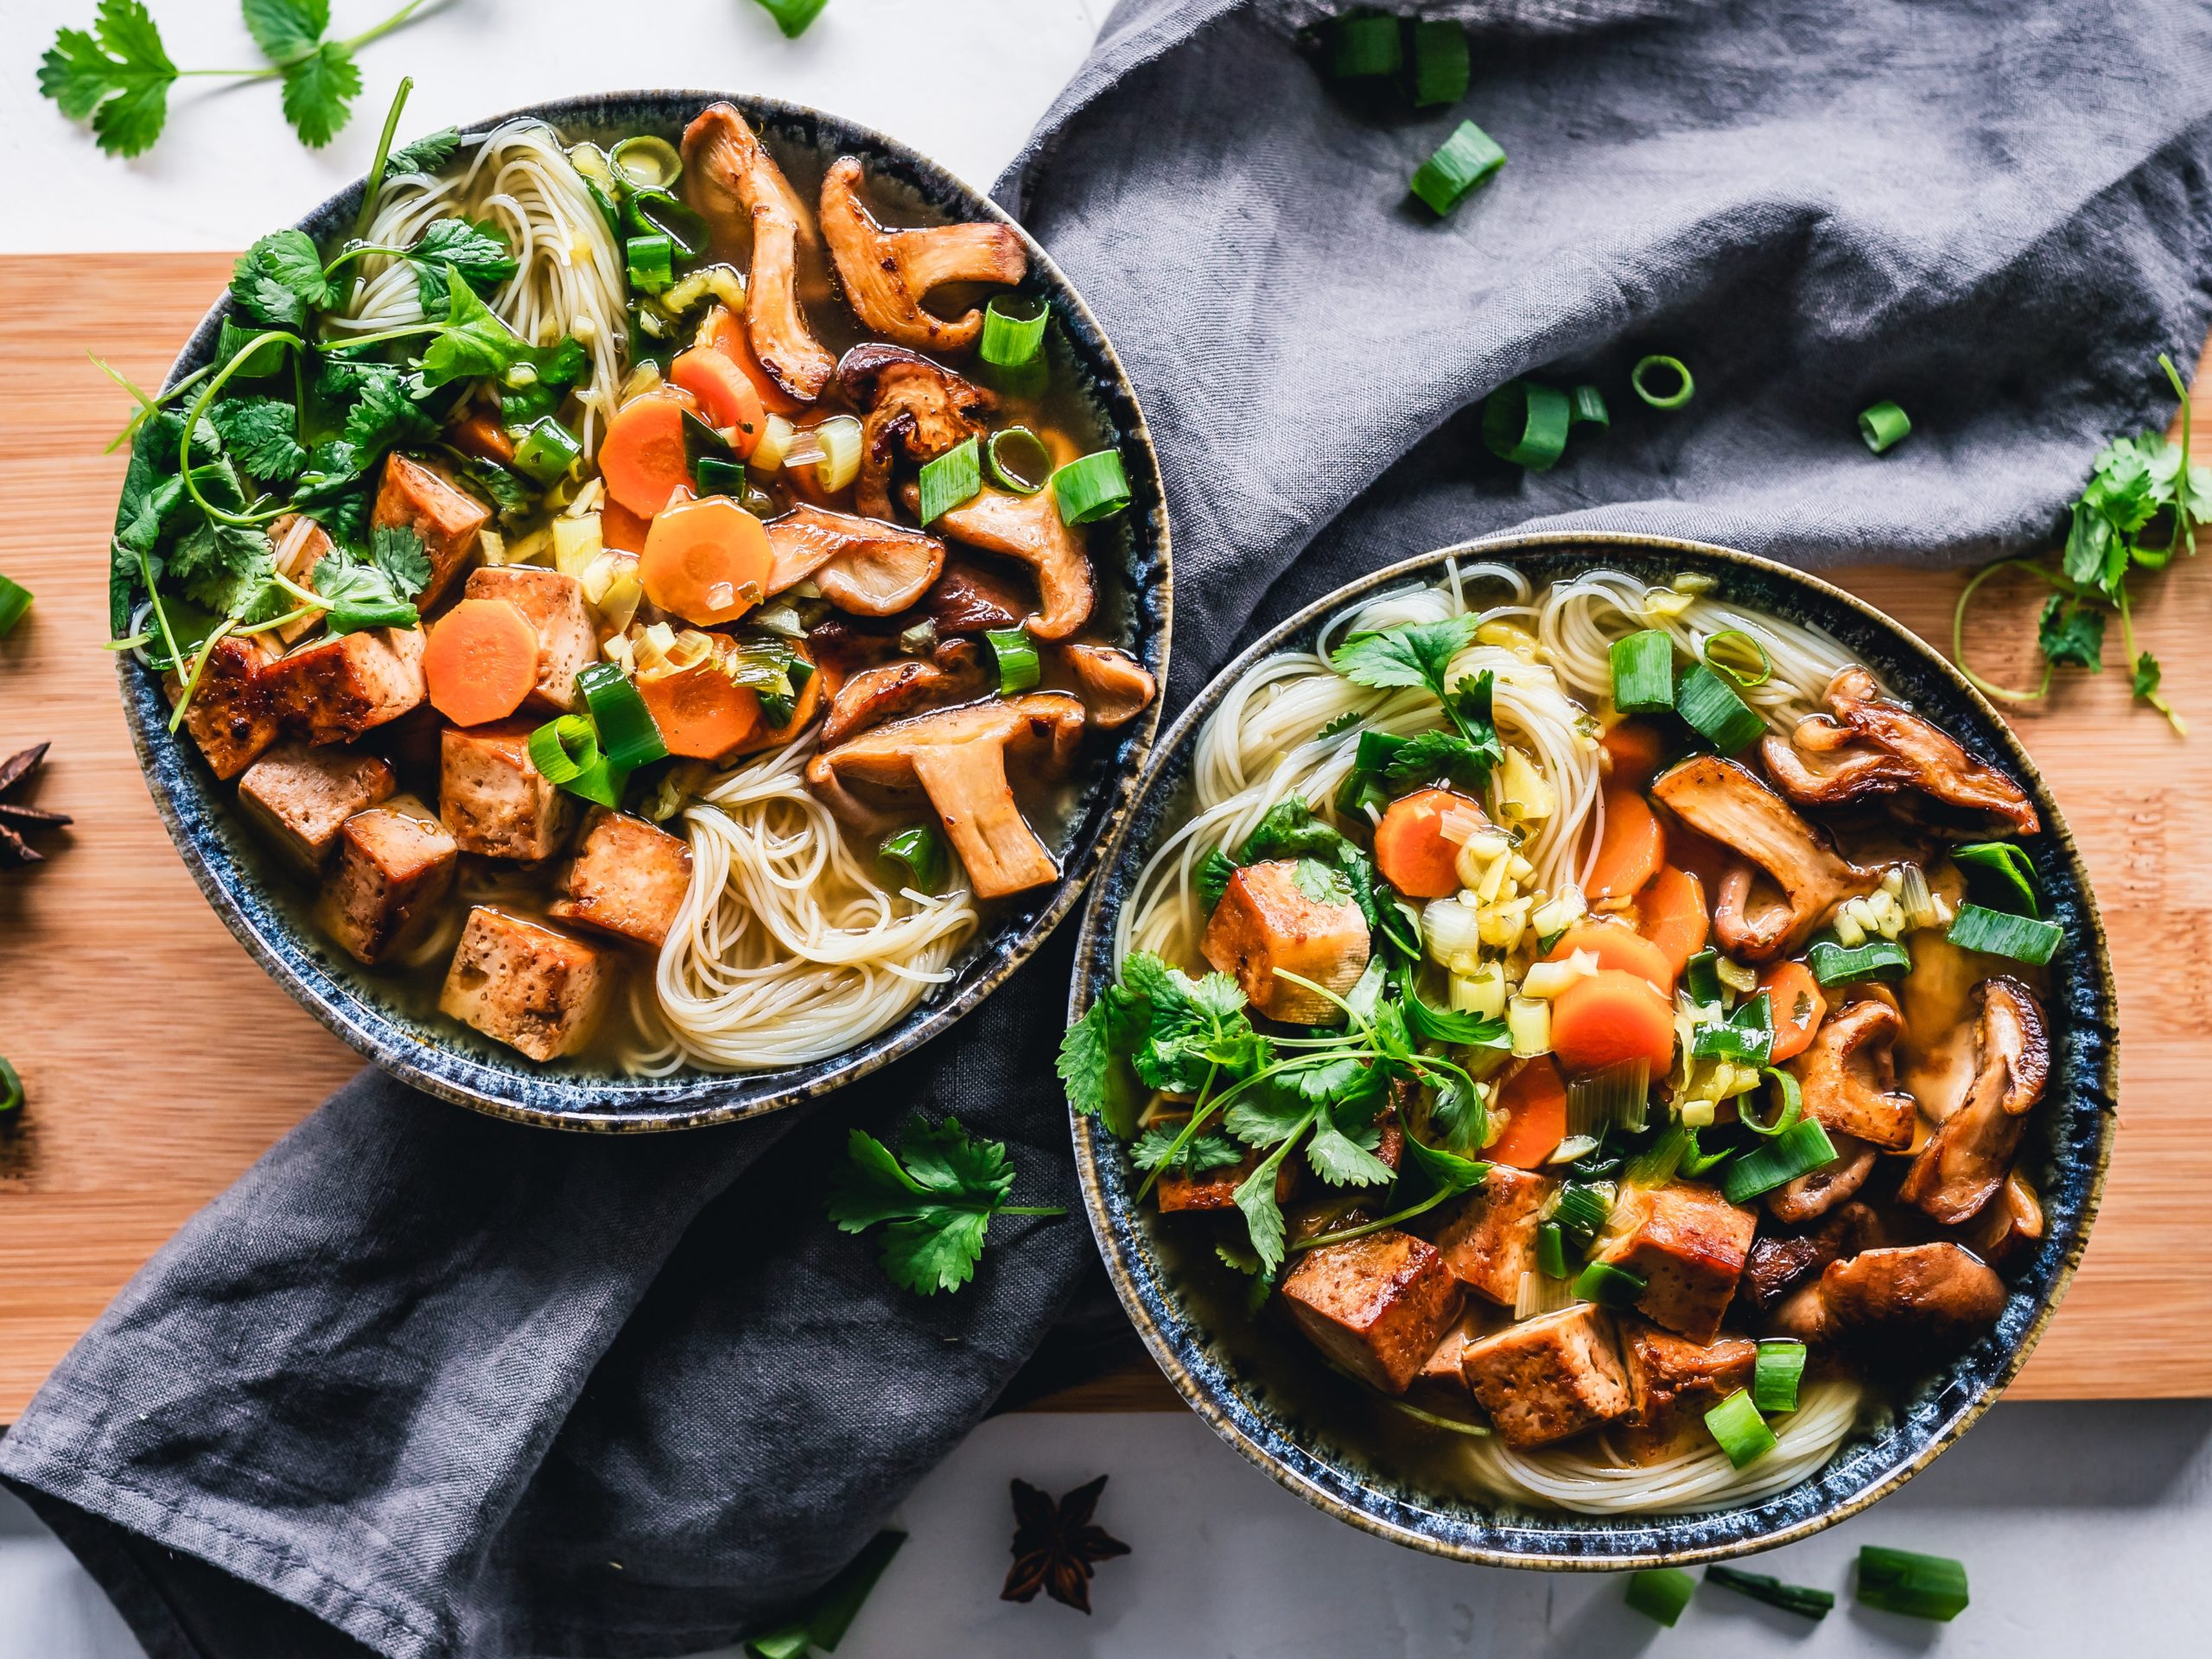
Bacon Mushroom Ramen Recipe
Bacon Mushroom Ramen Recipe
Ramen is a favorite food of mine because it’s so delicious! Plus it is so versatile that you can change the toppings and use your typical pantry staples! Treat yourself by testing out this delicious recipe!
Ingredients: Serves 4
- 16 oz. baby bella mushrooms
- 2 tbsp avocado or coconut oil
- 6 cloves of garlic
- 2 large shallots (or substitute 1 small onion)
- 1 tbsp fresh grated ginger or powdered ginger
- 6 cup beef, chicken or vegetable broth
- 1 1/2 tbsp white miso paste (or substitute 2 cup coconut milk)
- 2 tbsp soy sauce (gluten free or regular)
- 8 slices of bacon
- 1 tbsp rice wine vinegar
- 1 tbsp sesame oil
- 4 packages of rice noodles (can also do ramen noodles with spice packets discarded)
- 2 large carrots
- 4 handfuls of spinach
- 1/2 bunch cilantro (optional for garnish)
- 1/2 bundle green onions (optional for garnish)
- 4 eggs (optional for garnish)
Instructions:
- Heat 1 tbsp avocado or coconut oil in a large stockpot or dutch oven on medium high.
- While the pan heats up, wash & slice baby bella mushrooms, carrots. Wash & chop shallots/onions, garlic and grate fresh ginger.
- Add the bacon to the pan and cook until done.
- When the bacon is cooked, remove the bacon from pan put on cutting board, add shallots/onions and carrots to the stockpot and cook for a 3-5 minutes.
- While the shallots/onions and carrots cook, chop the bacon into large pieces.
- Add the mushrooms to the pan, 1 tbsp avocado or coconut oil, ginger, and garlic and cook for 2-3 minutes.
- Add spinach and cook for 1-2 minutes.
- If you want to add eggs to your ramen, follow these instructions, otherwise skip to Step #9. Start a second medium sized pot half filled with water, add the 4 eggs (in their shell) to the water and put on medium high heat. As soon as it comes to a boil, start timer for 6 minutes (soft boiled eggs) to 12 minutes (hard boiled eggs). Prepare an ice bath and as soon as the timer goes off, scoop up the eggs with a slotted spoon and transfer to the ice bath for 2-3 minutes. The carefully crack the eggs on the wide end where the air pocket is. Peel the eggs and put on plate.
- Add broth, 2 tbsp soy sauce, and white miso paste. Cover and bring to a boil, then turn heat down to a simmer and cook covered for 15-20 minutes.
- Look at instructions for rice noodles and add then noodles with enough time to cook them in the broth (ex: if they take 5 minutes to cook, add them in at 15 minutes so they can cook for 5 minutes and the heat can be turned off at 20 minutes. Add more water (1-4 cups to make sure the noodles are fully submerged).
- Add the 1 tbsp rice wine vinegar, 1 tbsp sesame oil, bacon.
- While the broth cooks, wash & chop cilantro, green onions.
- When the noodles are cooked, remove from the heat and spoon into 4 bowls. Add the egg (sliced in half carefully) and cilantro and green onions. And enjoy!

Walking Meditation
Quick How to Guide for Walking Meditation
Most people think that meditation means sitting quietly, but meditation can also be an active process! My favorite type of meditation is WALKING MEDITATION! Walking meditations help you slow down and really enjoy the beauty that constantly surrounds us! This is especially great because it helps you squeeze mindfulness and movement into your busy schedule at one time!
The process is quick, simple and easy, try out this 10 minute walking meditation:
1. Ground yourself – Walk slowly and connect to feelings of your legs and your feet on the ground. Feel the sensation of your heel as it touches the ground, the base and arch of your foot, and finally the toes. Notice what it feels like to lift your foot and the muscles in your legs. Focusing on these sensations grounds you and helps you be present in your body at this moment.
2. Gratitude – Remember that walking is a luxury that not everyone has. Take a moment to show appreciation for your legs and feet and feel gratitude for the ability to walk. Thank your legs for the daily service to get you to where you want to go!
3. As you walk, pay attention to your senses, one at a time:
(1) the feeling of your body walking, the feeling of your breath going in and out of your lungs, the feeling of wind and temperature on your skin
(3) any smells in the air or plants around you
(4) the taste of the air or anything in your mouth
(5) what you can hear
(6) what you can see
4. Focus on all of your senses at once and pause to thank your amazing body. Remember to smile and be grateful for the time you took for yourself today!

Shepherd’s Pie Recipe!
Shepherd’s Pie Recipe
Shepherd’s pie is one of my favorite healthy comfort foods! Celebrate St. Patrick’s Day with this tasty meal!
Ingredients: Serves 8
- 2-2.5 lb gold potatoes
- 2 tbsp salt
- ¼ cup butter
- 1 tsp sea salt
- ½ cup sour cream
- 1 tbsp black pepper
- ½ bunch of parsley (washed and chopped)
- 1 lb ground beef
- 1 large onion
- 1 tbsp avocado oil
- 2 cup beef broth
- 2 tbsp arrowroot powder / cornstarch / flour
- 1 tbsp worcester sauce
- 1 head of garlic
- 1 lb mushrooms (baby bello or white button)
- 1 lb mixed frozen veggies (whatever kind you like; I like corn, carrots, green beans, peas)
- 8 ounces cheddar cheese
Instructions:
- Use butter or cooking spray to grease a 9×13 casserole dish. Preheat the oven to 350 degrees.
Wash, peel, and cube the potatoes. - Place potato cubes in a pot, add 2 tbsp salt and cover with 1 inch of water. Bring to a boil and cook until they break apart when you stick it with a fork (about 20 minutes).
- While the potatoes are cooking, chop onion into small dice. Peel and chop all the garlic.
- When the potatoes are done, drain the water. Mash the potatoes, adding sea salt, butter, sour cream, black pepper, parsley and set aside.
- Into a large frying pan, add olive oil and diced onions. Cook until they become translucent, then add ground beef. Saute on medium high until the meat is crumbled into small pieces (it’s ok if it’s still pink as it will bake in the oven). Transfer the meat to the casserole dish, creating a solid layer on the bottom.
- As the meat cooks, chop the mushrooms into slices.
- Put the mushrooms into the large frying pan and saute on medium high heat. While they cook, whisk the beef broth, worcester sauce, and arrowroot (or cornstarch / flour) in a small bowl. Add this sauce to the mushrooms and cook for 2-3 minutes.
- When the mushrooms are getting close to done, add the chopped garlic and cook for 2-3 minutes.
- Transfer the mushrooms to the casserole dish, creating a solid layer over the meat. Be sure to add all the juices and distribute evenly across the pan.
- Spread frozen mixed veggies in a solid layer on top of the mushrooms.
- Spoon the mashed potatoes on top of the mixed veggies in the casserole dish and smooth out to be an even layer.
- Sprinkle the cheddar cheese on top, making a light even coating on the dish.
- Put in the oven and bake at 350 for 20-25 minutes or until the cheese has melted.
- Cut into 8 servings and enjoy!